1.3. Set up the Solution
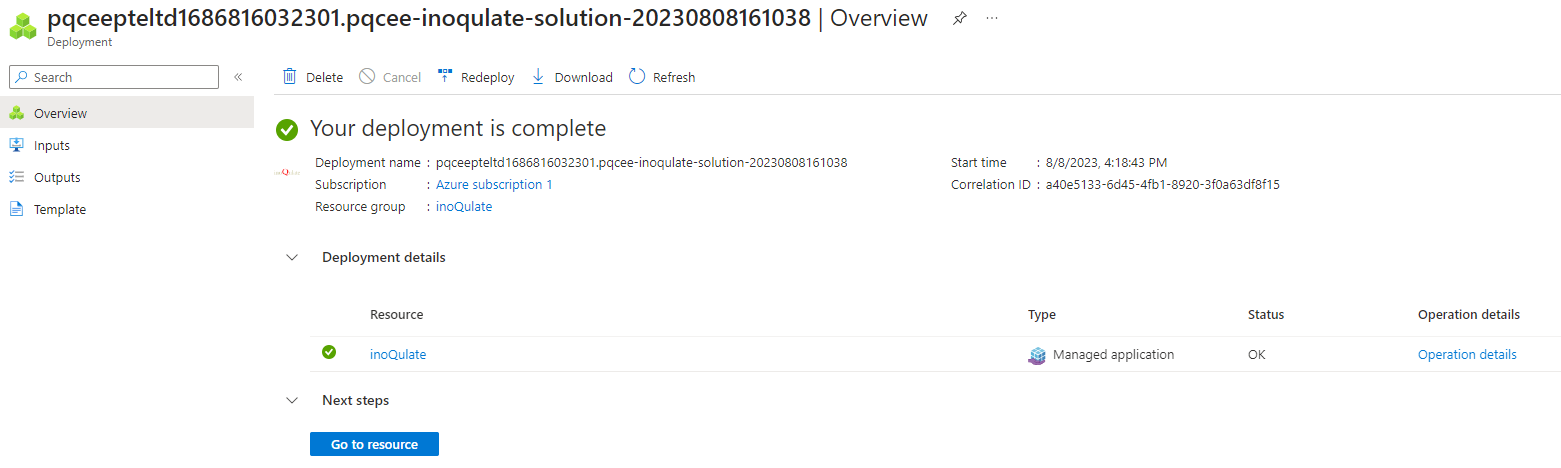
After completing the steps in Subscribe to inoQulate from the Azure Marketplace, the deployment should complete in about 20 minutes.
1.3.1. Connect to the Azure File Share
Choose one of the two ways to connect to the Azure File Share deployed for the inoQulate solution.
1.3.1.1. Using Azure Cloud Shell (recommended)
Warning
Azure Cloud Shell Configuration Change
This section changes the configuration of your Azure Cloud Shell to mount the Azure File Share for the inoQulate solution. When the setup is complete, you may wish to change your configuration back to your preferred settings through Settings > Reset User Settings.
In the Azure portal, enter
Kubernetes Servicesin the search box. Select Kubernetes Services.Click
inoQulate.Click
Connect.Under the Set cluster context section, click Open Cloud Shell.
If this is your first time using the Cloud Shell, you may need to go through an initial setup process.
If you are taken straight to a terminal (and have not mounted it to the Azure File Share yet), click Settings and then Reset User Settings.
If you are prompted to choose between Bash and Powershell, pick Bash.
You are presented with an option to mount a storage account. Select Mount Storage Account.
Select the subscription that inoQulate is deployed into.
Click Apply.
Click Select existing storage account.
Select the Subscription inoQulate is deployed into.
Filter the resource group with
MC_, and select the resource groupMC_<Managed Resource Group>_inoQulate_<location>, where<Managed Resource Group>is the Managed Resource Group name configured in the subscription process.For Storage account name, select the only option.
For File Share, select
storage.
Allow some time for the terminal to connect.
If the commands under Step 2 of the Set cluster context section is not run, run them.
1.3.1.2. Using your own Bash terminal
Alternatively, you may choose not to use the Azure Cloud Shell but your own bash terminal. To do so, the requirements are as follows:
sudoto have permissions to mount the drivecifs-utilsto connect to the File Share using CIFS protocolazto get the cluster credentialskubectlandhelmto interact with the clusterjava
keytoolto create a Java keystorejqto manipulate JSON outputcurlto download configuration files and make health check requests to the services.
1.3.2. Download and install setup files
In your terminal, run the following commands.
Note
If using your own Bash terminal, please change directory to the
configdirectory inside your mount point instead.cd clouddrive/config curl -O https://raw.githubusercontent.com/pqcee/public/38dd8b77caa47348667b668c99bd9a9b4fdb5c0f/inoQulate-v1.2.0-config.zip unzip inoQulate-v1.2.0-config.zip
If there are no errors, continue by running.
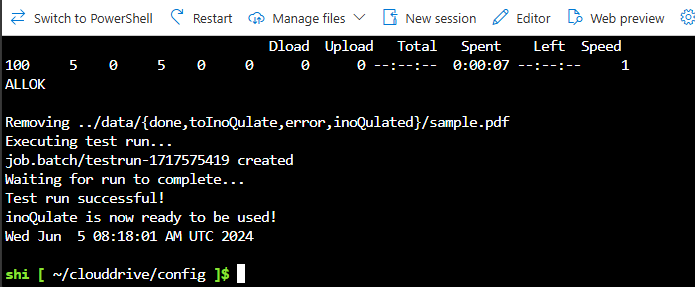
./setup.sh
Allow about 20 minutes for the setup to complete. The console output is also written to
log.txtin the same directory. If you encounter any issues with the setup, download and includeconfig/log.txtfrom the File Share in your support request.The installation completed successfully when you see the message:
inoQulate is now ready to be used!
1.3.3. Install the inoQulate PDF Verifier
The inoQulate PDF Verifier installer is available for the Windows platform. The installer is included in the File Share.
1.3.3.1. Download from the Azure Cloud Shell
Download the installer directly from your Azure Cloud Shell.
In the Azure Cloud Shell panel, click Manage Files and then Download.
Paste the following text in the required field.
clouddrive/config/inoQulate.PDF.Verifier_1.0.0_x64_en-US.msi
Click the notification to download the file.
1.3.3.2. Download from the Azure Portal
Download the installer from the Azure Portal.
On the Azure Portal, access the File Share page.
On the left panel, click Browse.
Click the
configdirectory.Click
inoQulate.PDF.Verifier_1.0.0_x64_en-US.msi.Click Download.
1.3.3.3. Install the verifier
Run the
inoQulate.PDF.Verifier_1.0.0_x64_en-US.msithe installer. You need administrative privilege to run the installer.Go through the installer wizard to the Completed page by clicking Next and Install. You do not need to change any settings in the wizard.
Uncheck Launch inoQulate PDF Verifier.
Click Finish.