1. Subscribe to inoQulate from the Azure Marketplace
1.1. Overview
The VM image is based on Flatcar OS, and is configured to host a few Docker containers.
An SFTP server hosts PDF files that users want to inoQulate. A service runner picks up these files periodically for inoQulation.
A Signserver web portal hosts the interface for users to sign their code binaries.
There are multiple ways you can subscribe to inoQulate.
1.2. Option 1: Subscribe from the Azure Marketplace
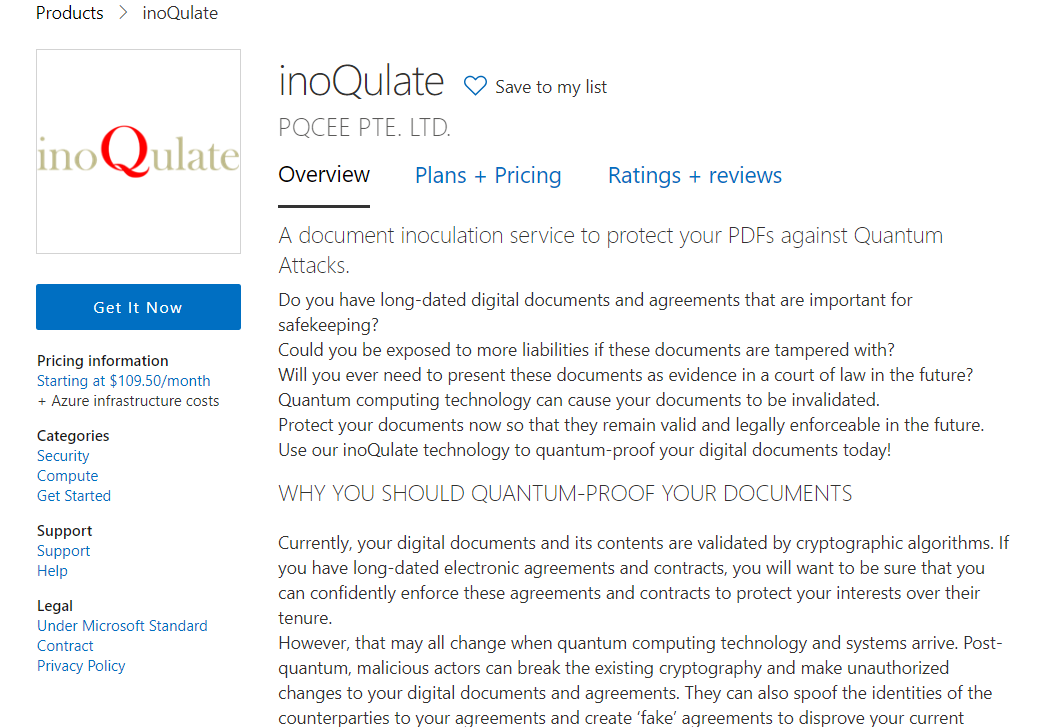
Click Get It Now from inoQulate on Azure Marketplace.

Click Continue on the prompt.
Click Create.
Proceed to Create the VM.
1.3. Option 2: Subscribe from the Azure Portal
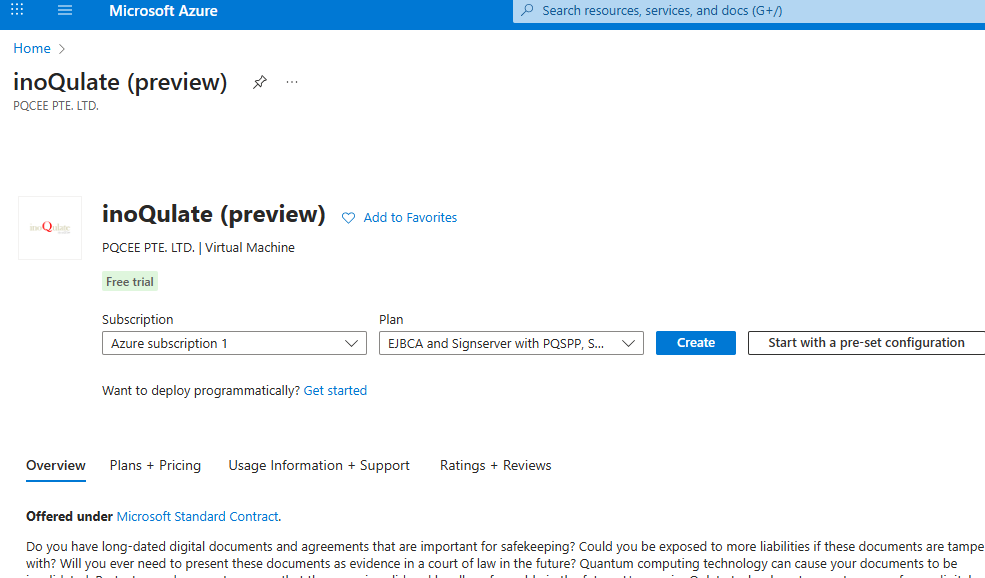
Click Create from inoQulate on Azure Portal.

Proceed to Create the VM.
1.4. Create the VM
Configure the rest of the settings for the VM as you need, following Azure’s Virtual Machine documentation. However, take note of the following configurations.
Network Architecture: The VM’s HTTPS port 443 must be accessible from the internet. An FQDN is also required for the associated public IP address for the VM.
The following ports are opened by default. Consider using another network solution (e.g. network security group rules, Azure Bastion) in complement to manage access to these ports.
Port
Purpose
22
Administrator’s SSH access to set up and manage the VM
80 (Optional)
Redirection to HTTPS.
443
User access to the Code signing portal.
2222
User access to the SFTP server for managing PDF files.
VM architecture: Only x64 is supported.
Security Type: Only Standard is supported.
OS Disk Size: Select a disk size large enough to hold all SPP zero-knowledge proofs.
As a rough guide, a disk size of at least 256GB is recommended for inoQulating one million (1,000,000) documents. Disks can still be resized after deployment.
Custom data and User data: Leave these fields blank. These fields have no effect for our VM Image.
Once the configuration is complete, review and Create the VM, and continue to Setting up inoQulate.